Painting the walls is one of the simplest and least expensive methods to modernize and decorate the rooms of your living space with different decor ideas. Wall painting can be done using stencils, sponges, and other items of daily use to make various patterns. You can hire experts or do it yourself as it is easy to execute for anyone to get an aesthetic outcome.
From DIYers to veteran home improvement experts, everyone must learn the proper way to paint a room wall in their living space. This information serves as a step-by-step guide to carrying out your wall painting project ideas by using sponge, stencils, etc., successfully. It also makes sure that if something goes horribly wrong, you have the required knowledge and expertise to think of an immediate cure.
If you are a beginner, it is always a good idea to go through expert-approved steps, guidelines, and tips before painting the wall. Similarly, having a plan, proper tools, and painting stencils are also important, as those walls will be a part of your life for a very long time.
So, to help you get started, we have compiled a step-by-step painting guide in this article. Continue reading to discover how to paint the walls and understand what you must do to ensure the success of your painting project ideas.
Contents
- 1 Tools & accessories required for painting a wall
- 2 How to paint a wall the right way?
- 2.1 Step 1 – Plan your approach
- 2.2 Step 2 – Clean the walls before painting
- 2.3 Step 3 – Select the colours
- 2.4 Step 4 – Finalize a painting technique
- 2.5 Step 5 – Gather the proper painting tools and equipment
- 2.6 Step 6 – Apply the painter’s tape
- 2.7 Step 7 – Don’t forget the primer
- 2.8 Step 8 – Mix your paint
- 2.9 Step 9 – Apply additional paint coats
- 2.10 Step 10 – Allow drying
- 3 Watch this video: How to paint a room | DIY for beginners (25 mins 06 secs)
- 4 Conclusion
Tools & accessories required for painting a wall
Here are some tools and accessories that you may need for painting a wall:
- Paintbrushes or Rollers: These are used to apply the paint to the wall. Choose the appropriate size based on the size of the wall and the areas that need to be painted.
- Paint: Choose a paint that is suitable for the surface you will be painting on, such as a flat or satin finish.
- Painter’s Tape: This is used to mask off areas you don’t want to paint, such as trim, windows, and door frames.
- Drop Cloths: These are used to protect the floor or any furniture in the room from paint drips and spills.
- Paint Tray: This is used to hold the paint for easy access while you’re painting.
- Extension Pole: This is used to extend the reach of your paint roller, especially for high walls or ceilings.
- Sandpaper: If the wall has any rough spots, use sandpaper to smooth them out before painting.
- Primer: This is used to prepare the wall for painting by providing a smooth and even surface for the paint to adhere to.
- Stir Stick: This is used to stir the paint thoroughly before application.
- Paint Scraper: This is used to remove any loose or flaking paint from the wall before painting.
- Paint Thinner: This is used to clean up any spills or mistakes while painting.
- Paint Edger: This tool helps to create clean and straight edges where the wall meets trim or other surfaces.
- Paintbrush Comb: This tool helps to remove excess paint from the brush and keep it in good condition.
- Respirator: If you’re using a paint that produces fumes, such as oil-based paint, a respirator can help protect your lungs.
How to paint a wall the right way?
Step 1 – Plan your approach
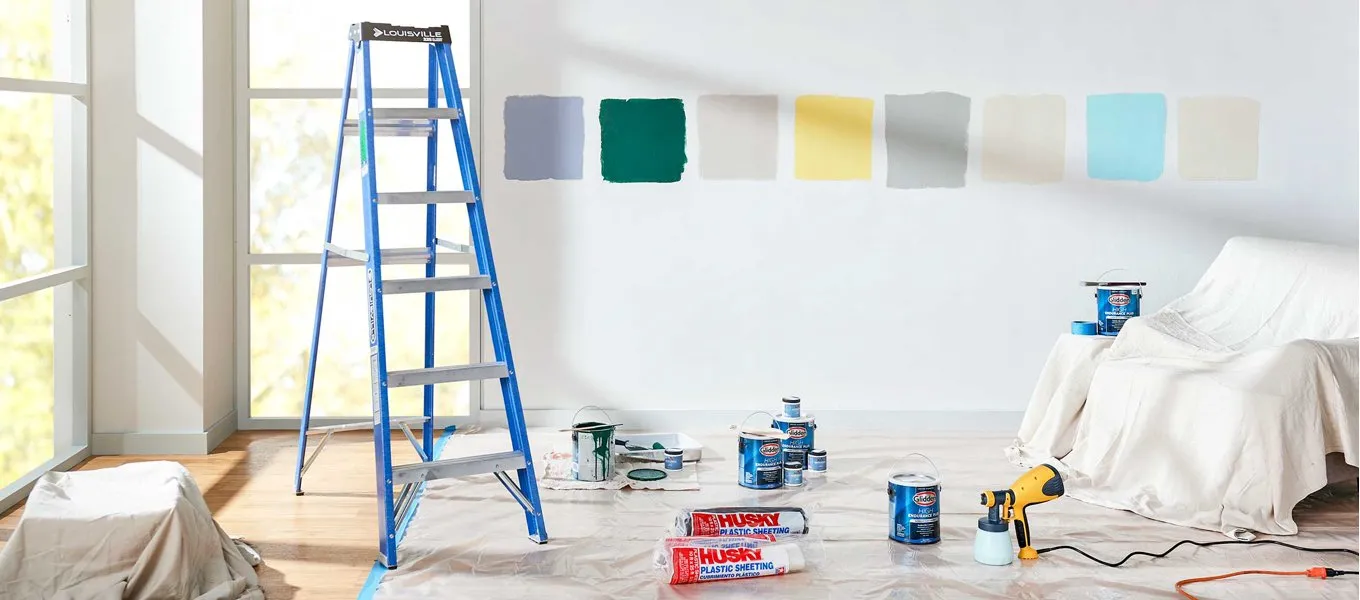
Image Source: Absolute Painting
Make a plan before starting your painting project. You must have a home décor idea in mind that you want to implement in your home. Hence, measure your walls, gather stencils, decide whether you want an accent wall or uniform painting, and pick the finish as per your décor ideas.
Pro Tip: Remove all furniture from the painting area to ensure that you have enough room to work.
Step 2 – Clean the walls before painting
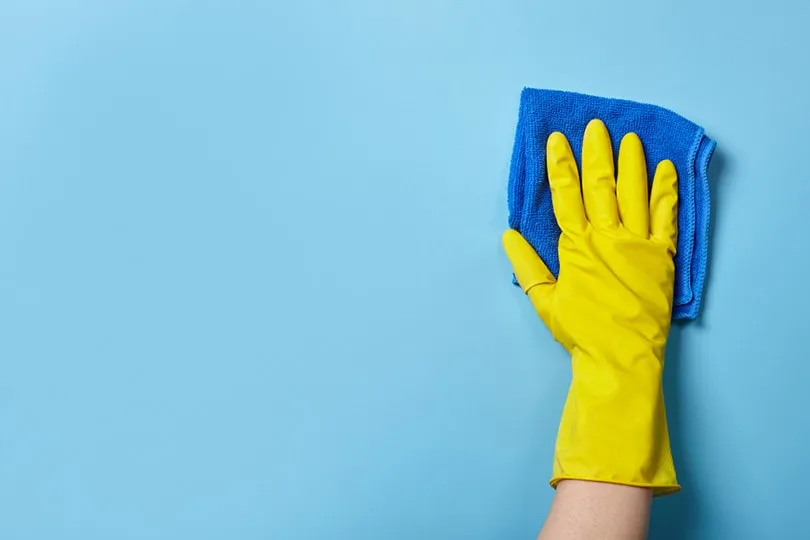
Image Source: House Grail
Clean your walls to remove any dust, filth, and grease before you start painting the walls. If your home’s paint is washable, use a sizable cellulose sponge and a solution of water, and mild dishwashing liquid. If not, clean the walls with a wet sponge. This will ensure that you get a smooth and professional finish.
Pro Tip: Look for any lumps or flimsy spots on your wall. Use a scraper to smooth out bumps and flaking paint, and fill cracks or holes with filler or sealant.
| Also read: Wall paint: Your guide for the perfect finish (prices incl.) |
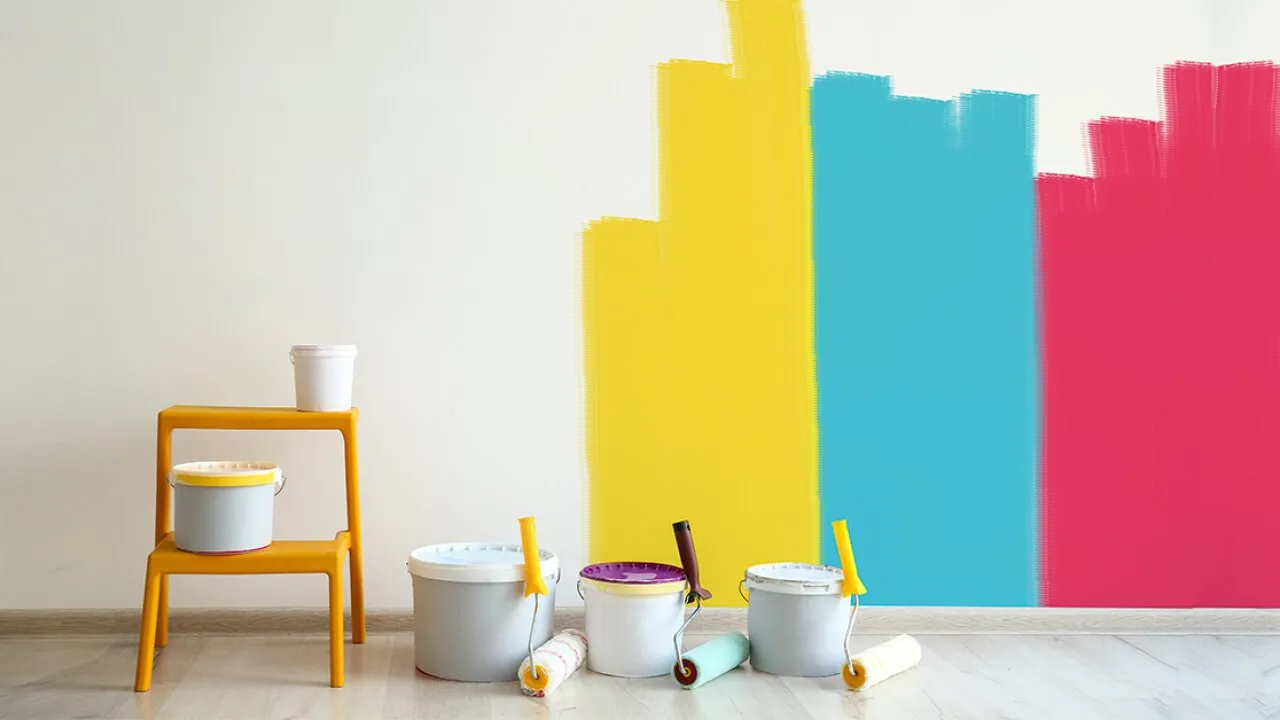
Step 3 – Select the colours
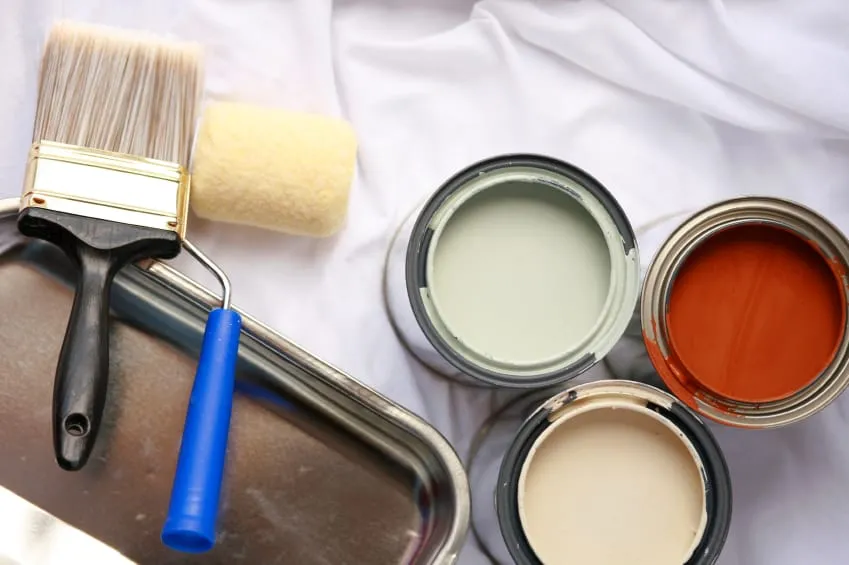
Image Source: Squamish Personnel Solutions
It’s usually a good idea to get a few sample pots to observe how the colour responds to the light in your room, furniture, or artwork. For this, you first need to determine the basic attributes of your paint, like shade, finish, saturation level, etc.
Pro Tip: Kitchen and bathroom paint should be moisture and strain-resistant.
Step 4 – Finalize a painting technique
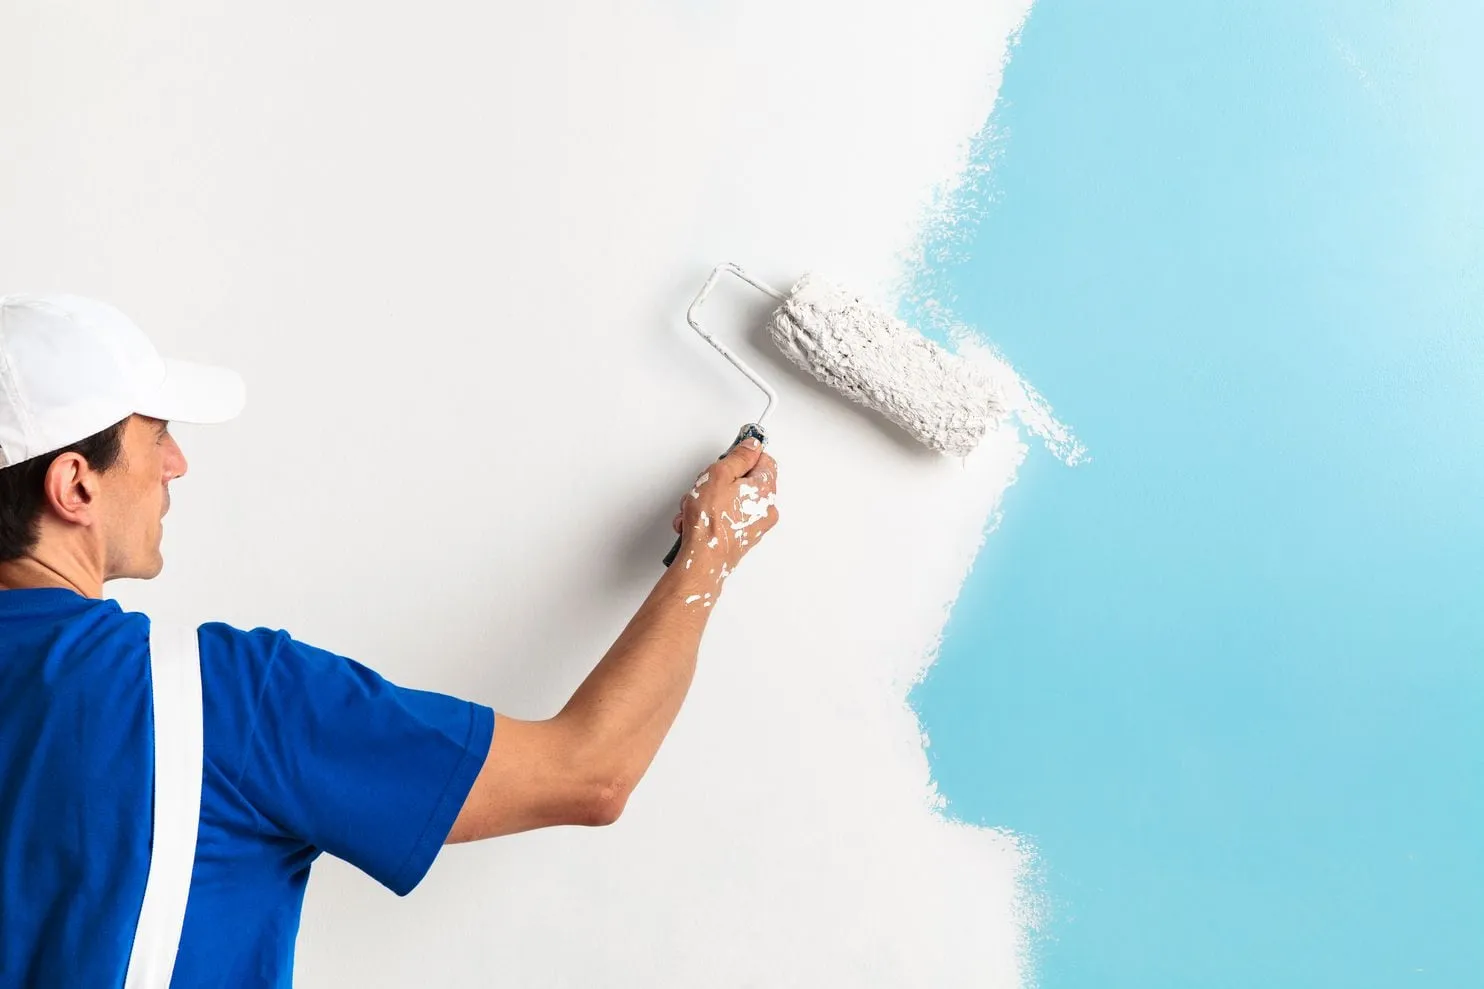
Image Source: Pinterest
Use a wide roller to paint the walls. From the ceiling, roll paint on with your roller to the bottom. Shape the paint into a 3-by-3-foot “W” and roll it onto the wall. Without raising the roller, fill in any bare spots on the wall as you make your way back across that “W.”
Pro Tip: Fill in the gaps by going over the W in an M shape, then reload your roller and go to the next part in the same manner.
Step 5 – Gather the proper painting tools and equipment
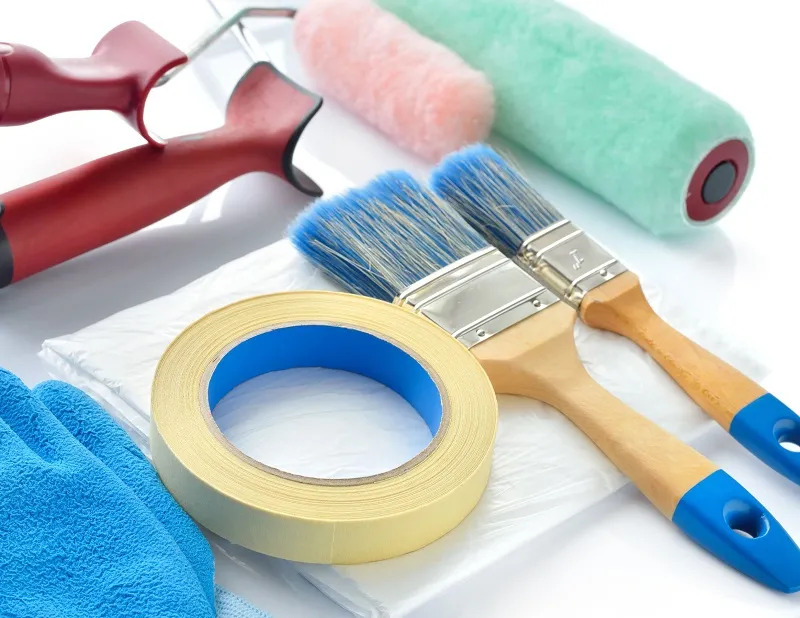
Image Source: Priority One Coatings
You will need various tools depending on the type of paint you select and the state of your walls. Some of these wall painting tools are paint rollers, stencils, extension poles, paintbrushes, drop cloths, paint trays, painter’s tape, sandpaper, rags, putty knives, etc.

Pro Tip: Invest in best quality roller covers, brushes, and other equipment for excellent coverage and to avoid re-application.
| Also see: Top 10 paint companies in India | Best paint brands in India |
Step 6 – Apply the painter’s tape
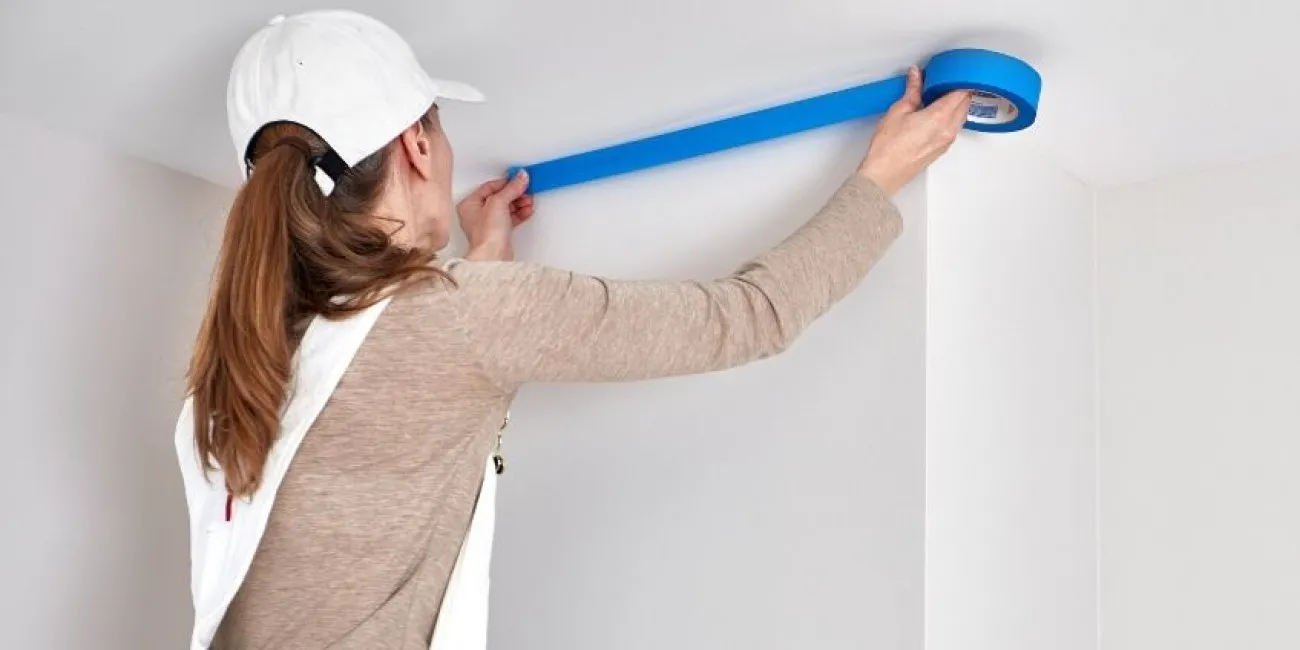
Image Source: ECOS Paints
Painter’s tape should be used to cover anything you don’t want to be painted. Protect the trim around windows and doors, as well as at the top and bottom of the wall. Cover everything you don’t want to ruin, including hardware, electrical boards, switches, doorknobs, ventilation trims, mouldings, wall detailing, etc.
Pro Tip: Always paste your painter’s tape with a putty knife.
Step 7 – Don’t forget the primer

Image Source: Berger Paints Nepal
This is a crucial step as the primer reduces the number of paint coats required while also assisting with paint adhesion to the walls. Hence, use a good-quality primer depending on the type of wall and the intended use. Roll out the primer and cover the walls completely with an even coat that extends from the floor to the ceiling.
Pro Tip: Give the primer at least four hours to dry.
| Also see: Buy modern wall art paintings for home decor at best price online |
Step 8 – Mix your paint
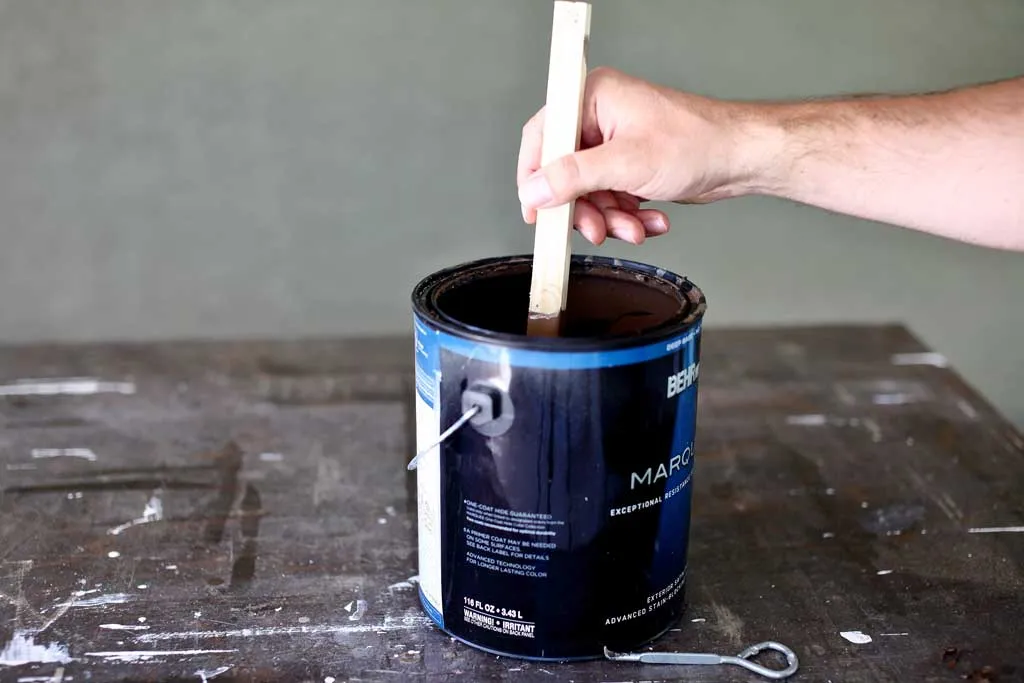
Image Source: TheDIYPlan
Stir the paint frequently with a wooden paint stick during the project. If you don’t consistently stir your paint, the ingredients may separate, which could affect the genuine colour of the paint.
Pro Tip: If you need more than one gallon of paint, combine the cans in a big bucket just in case the colours differ somewhat.
| Also see: Painting a mural: DIY step-by-step digest (19+ Designs) |
Step 9 – Apply additional paint coats
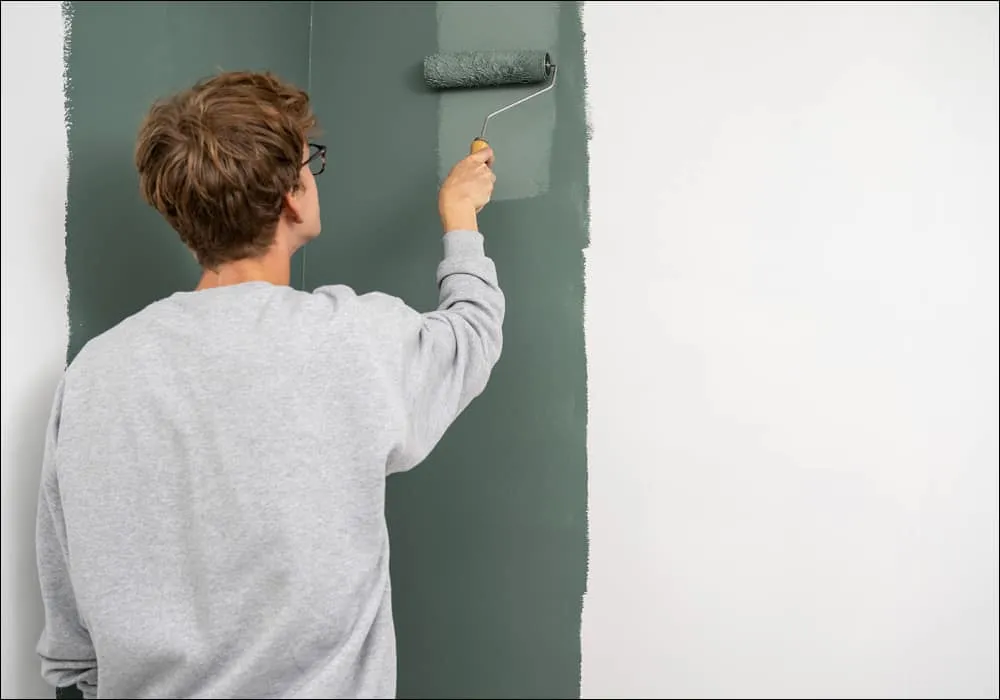
Image Source: COAT Paints
You need to add 2-3 coats of paint to achieve your preferred wall colour. Before you apply a second layer, give the first one some time to dry. Most walls do not need more than two coats of paint. While the second coat is drying, peel the painter’s tape from the wall.
Pro Tip: Avoid cleaning your brushes between coats.
Step 10 – Allow drying
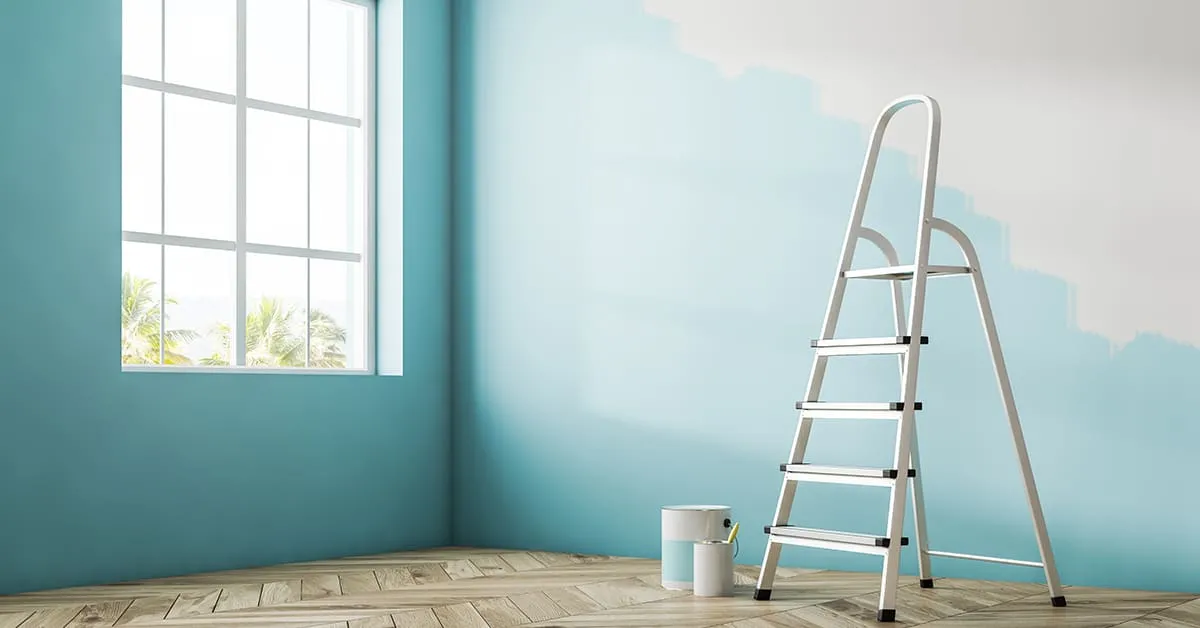
Image Source: Berger Paints
Different paints come with different drying speeds. Most paints will feel dry to the touch before you can apply another coat. In about an hour, latex-based paint will feel dry to the touch and will be ready for a second coat in four hours. It takes six hours for oil-based paint to feel dry, and you should wait a day before applying a second layer.
Pro Tip: Don’t paint on a humid day to avoid slow drying.
Watch this video: How to paint a room | DIY for beginners (25 mins 06 secs)
Conclusion
One of the most common DIY project ideas that the majority of homeowners may take on is painting the room walls of their living space. It is much less expensive than getting professionals to do it. However, you should do some research before beginning this job because applying the right painting techniques will result in a professional-looking finish. Therefore, going through a step-by-step guide is crucial.
Your home can be made more contemporary, irrespective of its existing defects and weaknesses, by choosing a fresh interior wall paint or home colour. Over time dents, dings, and marks appear on the walls of your home. The detailed information provided on DIY wall painting in this article will help in removing these flaws and giving your house a more pristine and newer feel.
You now understand that painting the walls beautifully can define the rooms of your living space and style your interiors in a distinct mood or vibe. So, evoke a pleasant ambiance in your home by keeping in mind this step-by-step guide.
*The featured image used in this article is from Berger Paints